Many people come to me through photography and weekly I get some questions about editing, equipment and tips in general. With the use of the mobile phone as a camera, people have been photographing more and more, but it doesn’t mean that the photos are better.
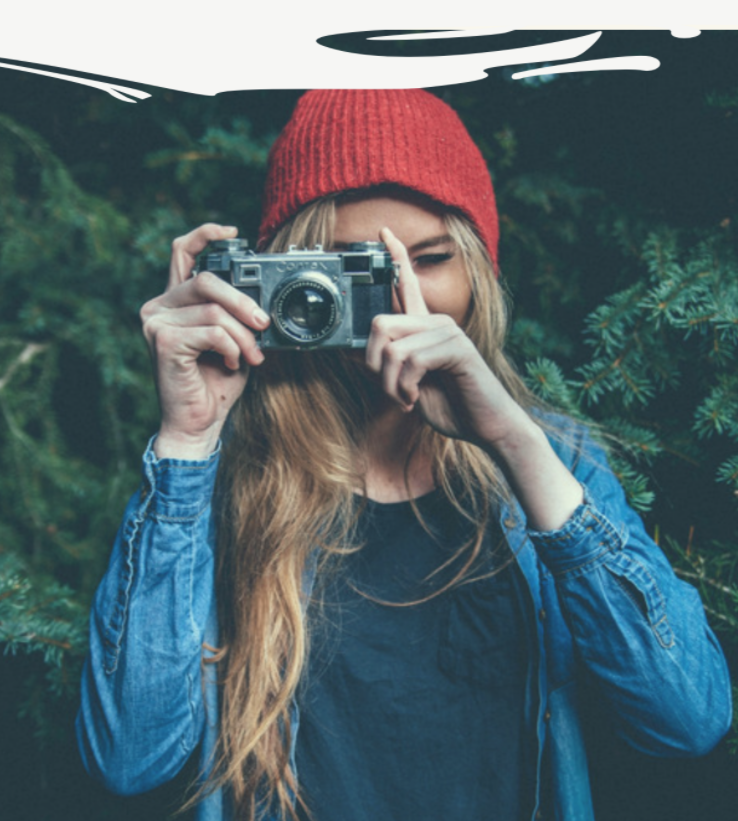
I often see images that with a change of position or a small turn in the camera – or a little editing – would be perfect. So I decided to create this post by sharing some simple tips to photograph better and make your memories even more beautiful.
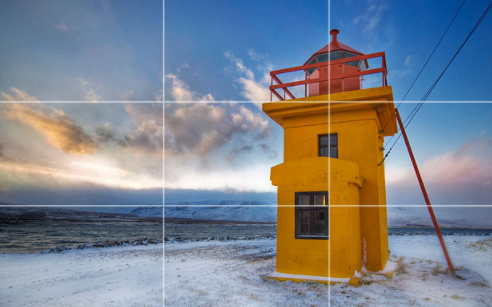
Keep an eye on the horizon
One of the things that bothers me the most when looking at pictures out there is seeing the skyline crooked. It’s the first thing I notice in my images. It’s a small change, but it’s significant. In some types of composition it is “ok” to turn the camera to pass a different message through your photography, however, in the photos of your holidays, the cool thing is to have photos with the horizon straight.

Know your best angle
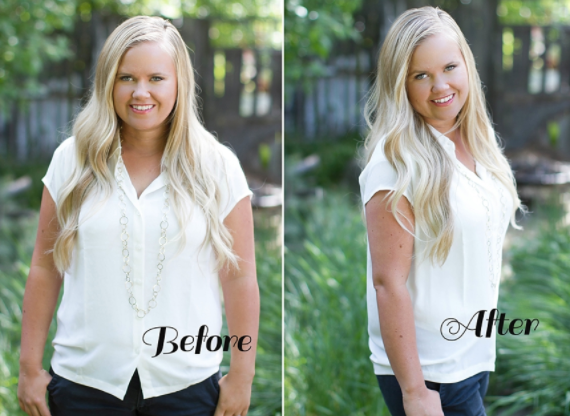
Many people already know, and the selfies are there to prove it, but it doesn’t hurt to talk here: We all have one side or the other that is more photogenic – and it’s usually the left side of the face. Also, when taking full body shots, try not to look totally in front of the camera. When your body is positioned diagonally to the camera, it looks less “flat”. So, whenever you are in front of the lens, look for your best angle to come out well in the photos. Believe me, it makes a big difference. For those who want to understand with more examples, this post, by Kate Pease, brings very illustrative and very good examples to understand a little more about the best angles!
Avoid taking face pictures from the bottom up
Pushing the camera or mobile phone on your stomach and photographing your face is definitely not an angle that will favour you. When we photograph a face from the bottom up, the tendency is that we will turn our face down so that even the skinniest of the skinny will have talk and look fatter than it is. Also, no one wants to look down your nose and see your brain.

Photograph the subject facing “in” the photo – not “out”.
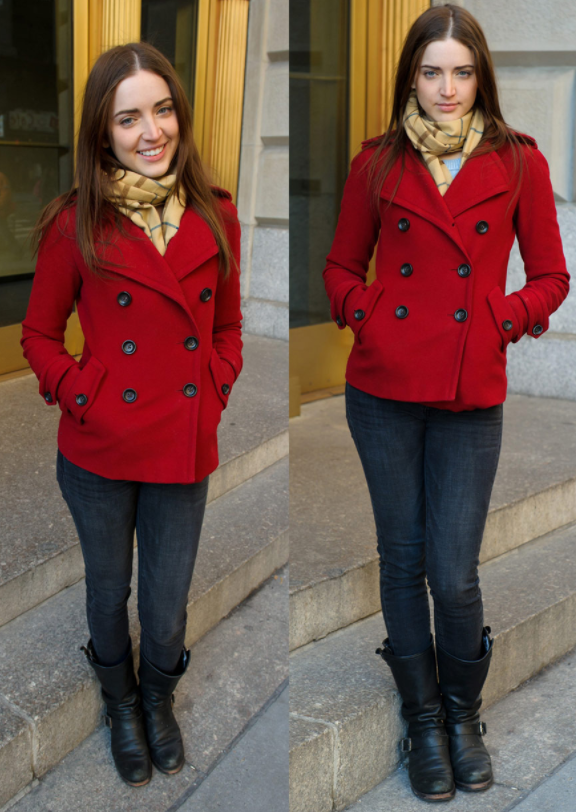
The mobile phone’s camera is made to capture as much field as possible and often for this reason ends up causing some kind of image distortion. Therefore, in the mobile phone lens, it is likely that when we photograph someone with the camera at the height of the subject’s face or above it and the mobile phone “standing” the person will look shorter than they really are. While if we use the phone on the hip line of the photographed person or below it, the opposite will happen, and the subject will look proportional or a little longer. In the image below, for example, this effect is clearly visible. It is worth remembering that the closer the photographer is to the camera, the more intense this effect will be. Therefore, remember this at the time you are photographing. If you think it got strange, or lower than normal, try changing the angle.
Understand what each angle can do in your photos
The mobile phone’s camera is made to capture as much field as possible and often for this reason ends up causing some kind of image distortion. Therefore, in the mobile phone lens, it is likely that when we photograph someone with the camera at the height of the subject’s face or above it and the mobile phone “standing” the person will look shorter than they really are. While if we use the phone on the hip line of the photographed person or below it, the opposite will happen, and the subject will look proportional or a little longer. In the image below, for example, this effect is clearly visible. It is worth remembering that the closer the photographer is to the camera, the more intense this effect will be. Therefore, remember this at the time you are photographing. If you think it got strange, or lower than normal, try changing the angle.
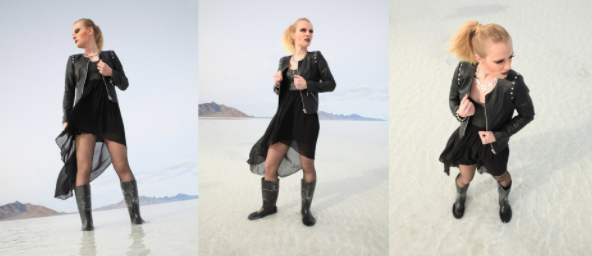
Photo 1 – From bottom to top | Photo 2 – At waist height | Photo 3 – From top to bottom
Use the rule of thirds
Maybe you’ve heard of the rule of thirds. I won’t go into too technical terms, but just to put it in context, it’s as if your mobile’s screen has a game of the old woman in the middle, divided into nine equal parts. Each of the crossroads (where the lines meet) is a “point of interest”, so to speak. When you put the subject of the photo at the intersection of these lines, it will probably look even better.
Usually when we photograph someone, we put the person in the middle of the image (and this is not bad!). So the rule of thirds can be an alternative if you look for a variation in your photos. The iPhone, for example – and I believe most smartphones – has the option to put the “grid” on the camera screen, making it easier to position your subject at one of these points. Just enter the settings on your camera.
Know where it is “ok” to cut people and where it is weird
Taking a picture of someone cutting off their shoulders and just showing their neck and head, for example, is not cool, unless you are testing some kind of art. There are places where it is “ok” to cut off an arm, leg or body, but there are others that make the image aesthetically unpleasant. The image below gives some very simple and practical tips on how to do this without spoiling your photos. Remember that if you cut someone where you shouldn’t, in most cases it’s still possible to give them that little bit of editing.
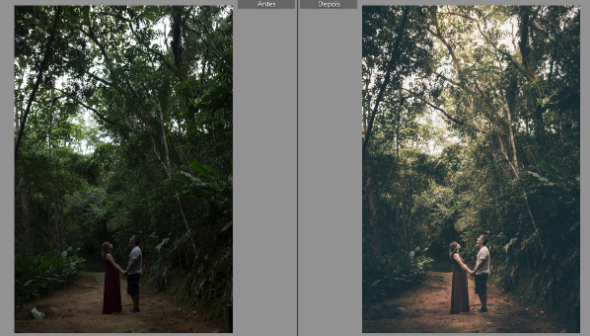
Edit your images
Whether on a computer or mobile phone, image editing is one of the most important and crucial parts. It often brings images to life, highlighting some aspects, improving them, and conveying the feeling you want to experience. If you just want to improve your images a little, just download some application and tweak the simplest settings.
Several apps, like Snapseed, VSCO and even Instagram itself, offer filters that make your photos even more beautiful. They give you the possibility to edit some effects separately (brightness, contrast, temperature, saturation, etc), but be careful not to over-edit, make the photo a carnival or look as orange as Donald Trump. Always remember, less is more.
Did you enjoy the tips? Do you have any photo-related topic suggestions you’d like to see here on the blog? Comment bellow.